Raptor
Setting Up Raptor Hardware
This article explains how to set up the Raptor label printer and ID scanner on a Secretary's computer.
Before plugging the ID scanner and label printer into the computer, download and install all hardware components from the Raptor Support site.
Follow the steps in the installer. Once all drivers have finished installing, plug the ID scanner and badge label printer into the computer via USB port.
Visit http://localhost:7779/status for Raptor to make a connection with each device.
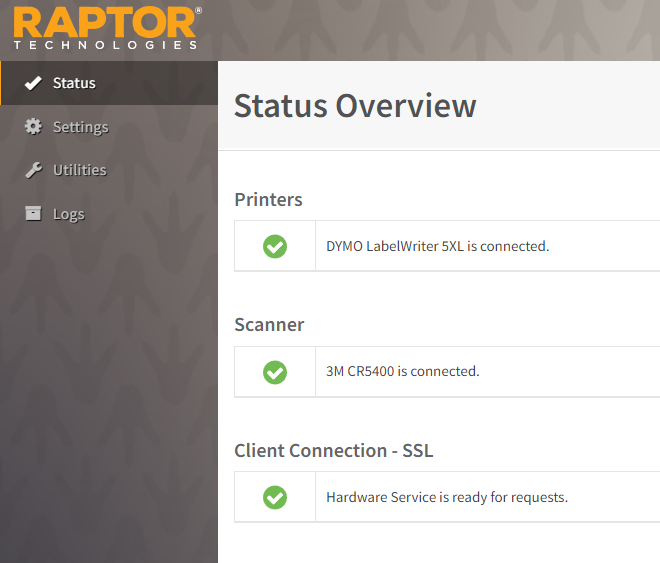
You can then perform a "Test Scan" within the Utilities tab to ensure the scanner is working correctly.
That's it! If you would like to further test the funcionality of the ID scanner and label printer, visit the Visitor Management Sign In/Sign Out page in Raptor.
Custom Alerts
Creating a Custom Alert
This article explains how to create a Custom Alert in Raptor Visitor Management
The Custom Alert will flag an individual person entering the building via Raptor Visitor Management. A notification will also be sent to the building Principal and Secretaries via email and text message.
To create a Custom Alert follow these steps:
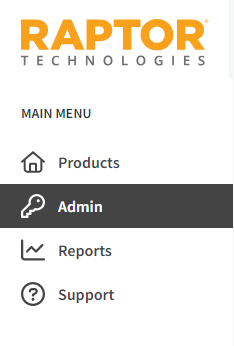
1. From the Raptor Main Menu panel, select "Admin"
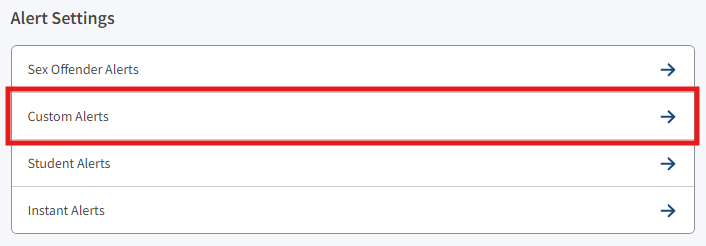
2. Select "Custom Alerts"
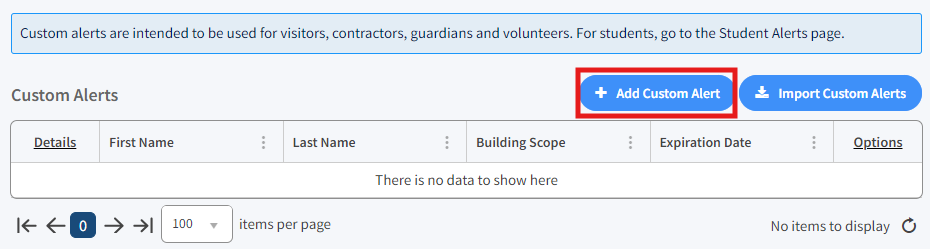
3. Select "Add Custom Alert"
4. Enter the details of the person you would like to flag upon entry. Fill out the "Alert Text" that will be sent to the building Principal when this person is flagged.
If you would like to add a Courtesy Notification, photo of the person, or have a document to attach, that can be added as well.
Here is an example of the Custom Alert Details page filled out:

Click Save, and that's it!
To manage the recipients of this alert, visit Managing Alert Notifications
Managing Alert Notifications
This article explains how to manage Alert Notifications in Raptor Visitor Management
1. From the Raptor Main Menu panel, select "Admin"
2. Select the alerts that you would like to change, in this example we will use "Custom Alerts"
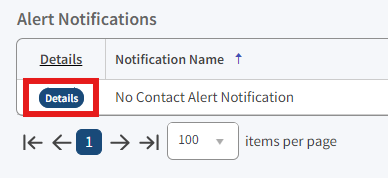
3. Under "Alert Notifications", select the alert that you would like to make changes for
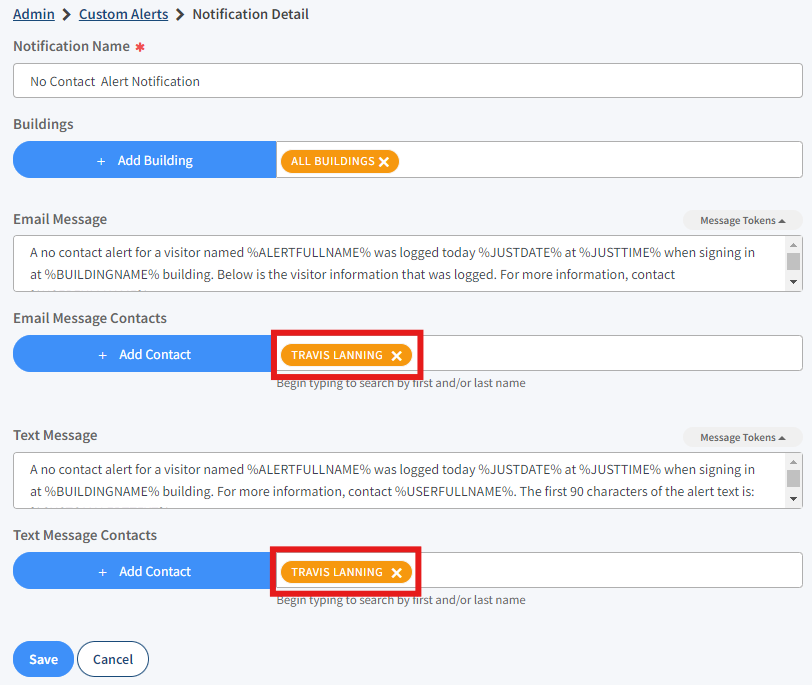
4. Add Email and Text Message Contacts by typing their name into the search bar
PowerSchool - Guardian No Contact Report
This article explains how to find guardians who are not allowed contact with a student
1. Log into PowerSchool Admin
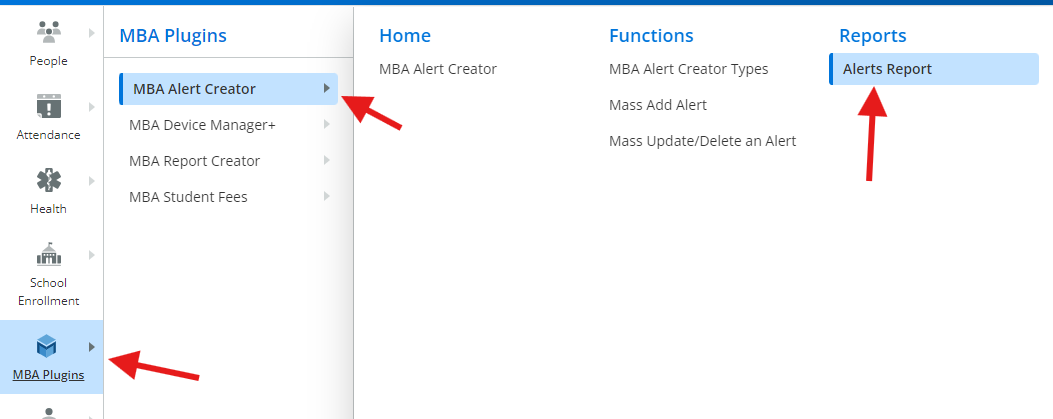
3. Filter by: Standard Alerts > Guardian

Staff Sign In/Out via Raptor Kiosk
Staff members can sign in and sign out via the kiosk by scanning their Staff ID (1D barcode) or entering their Staff ID number.
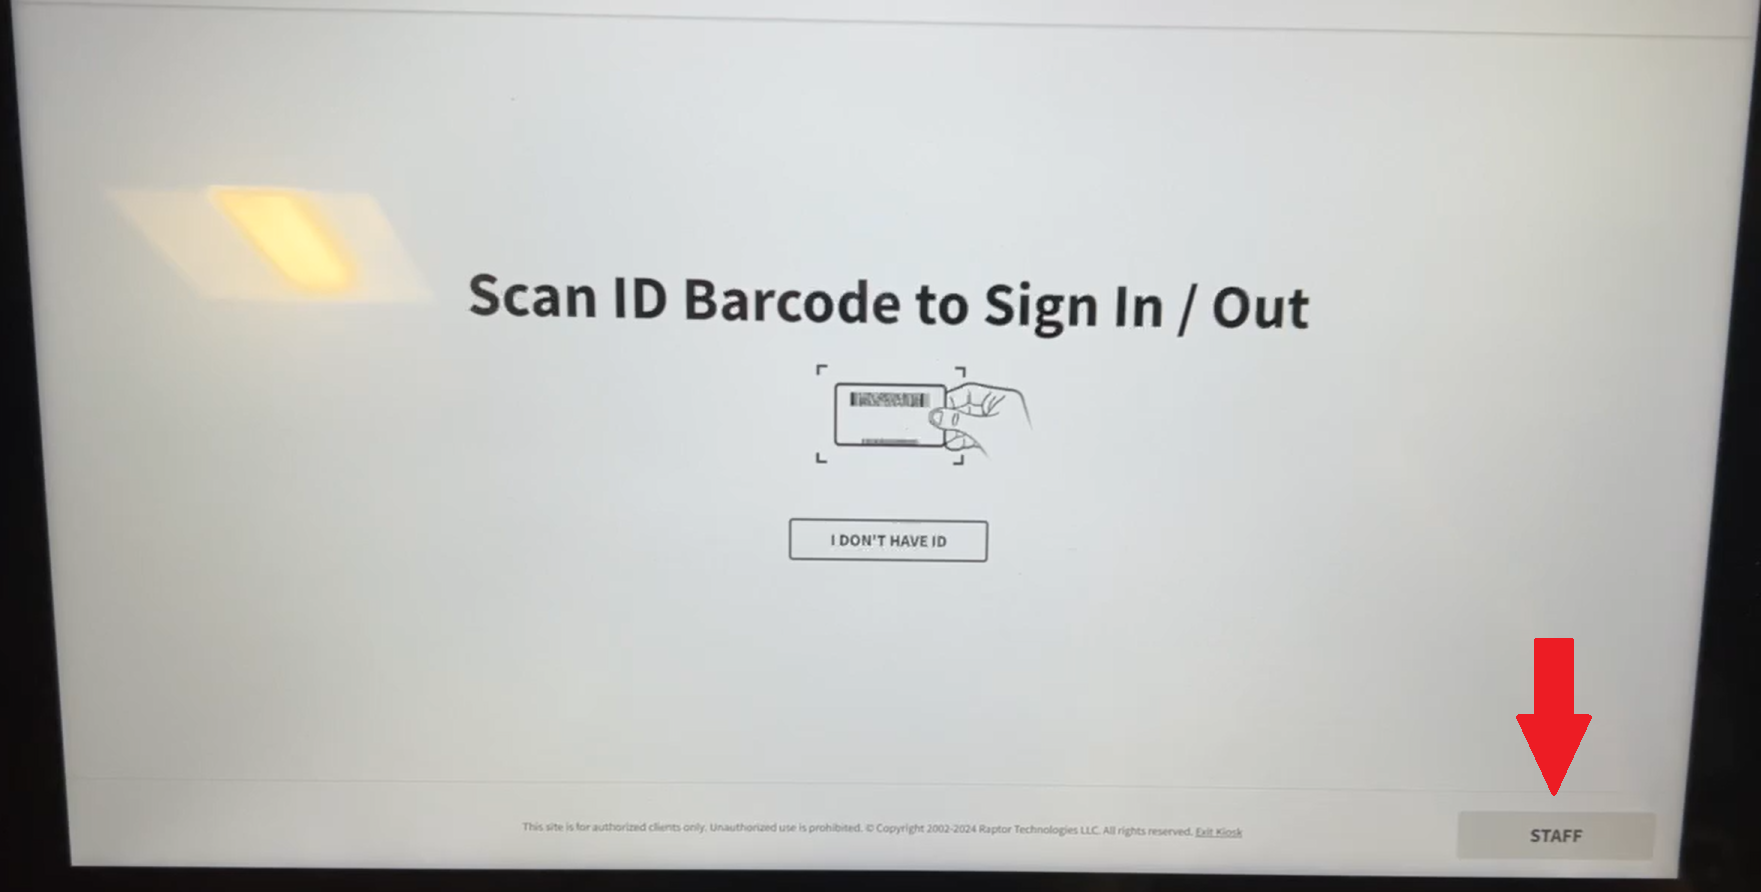
1. On the lower right-hand corner of the Raptor Kiosk screen, select "Staff".
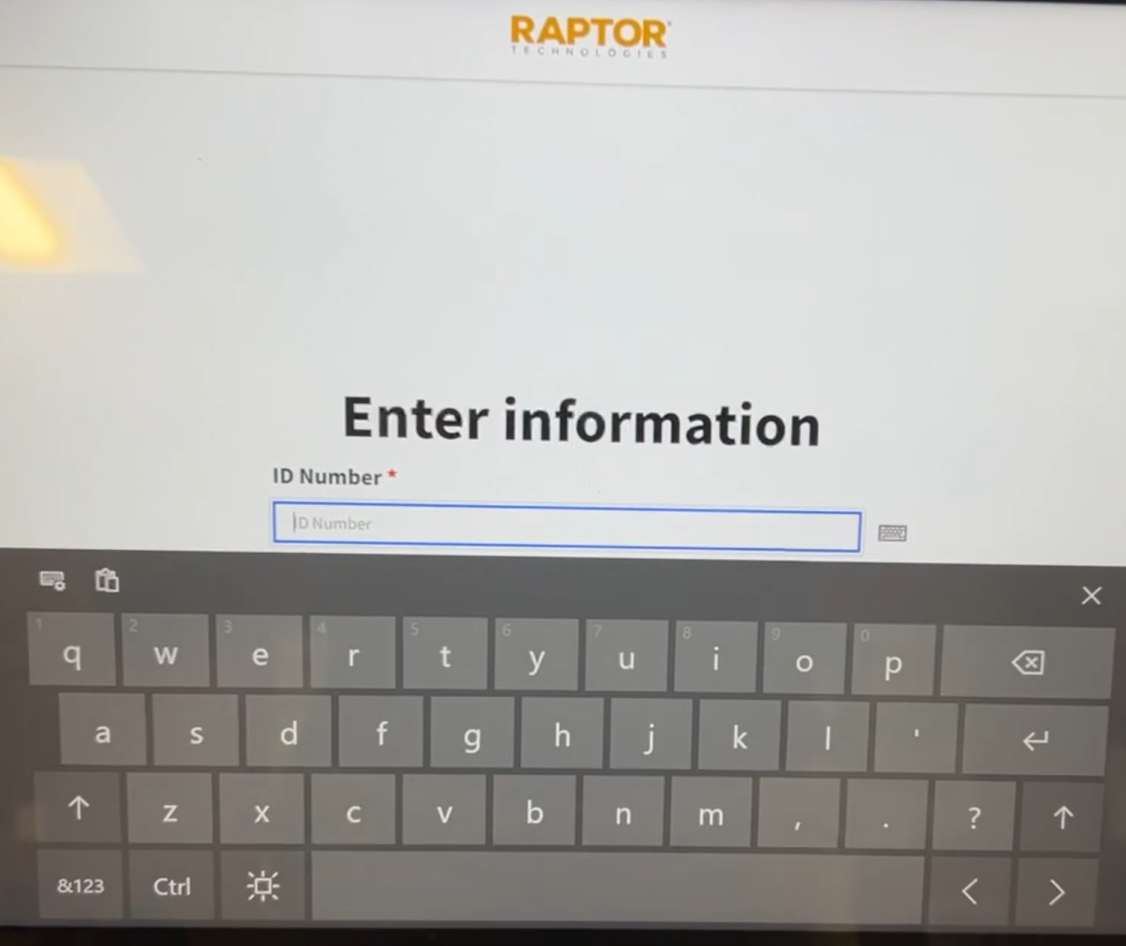
2. You will be asked to enter your ID number. Scan the barcode on located on your Staff ID, or type in your employee ID number. Then press "Next" in the bottom right-hand corner of the kiosk screen.
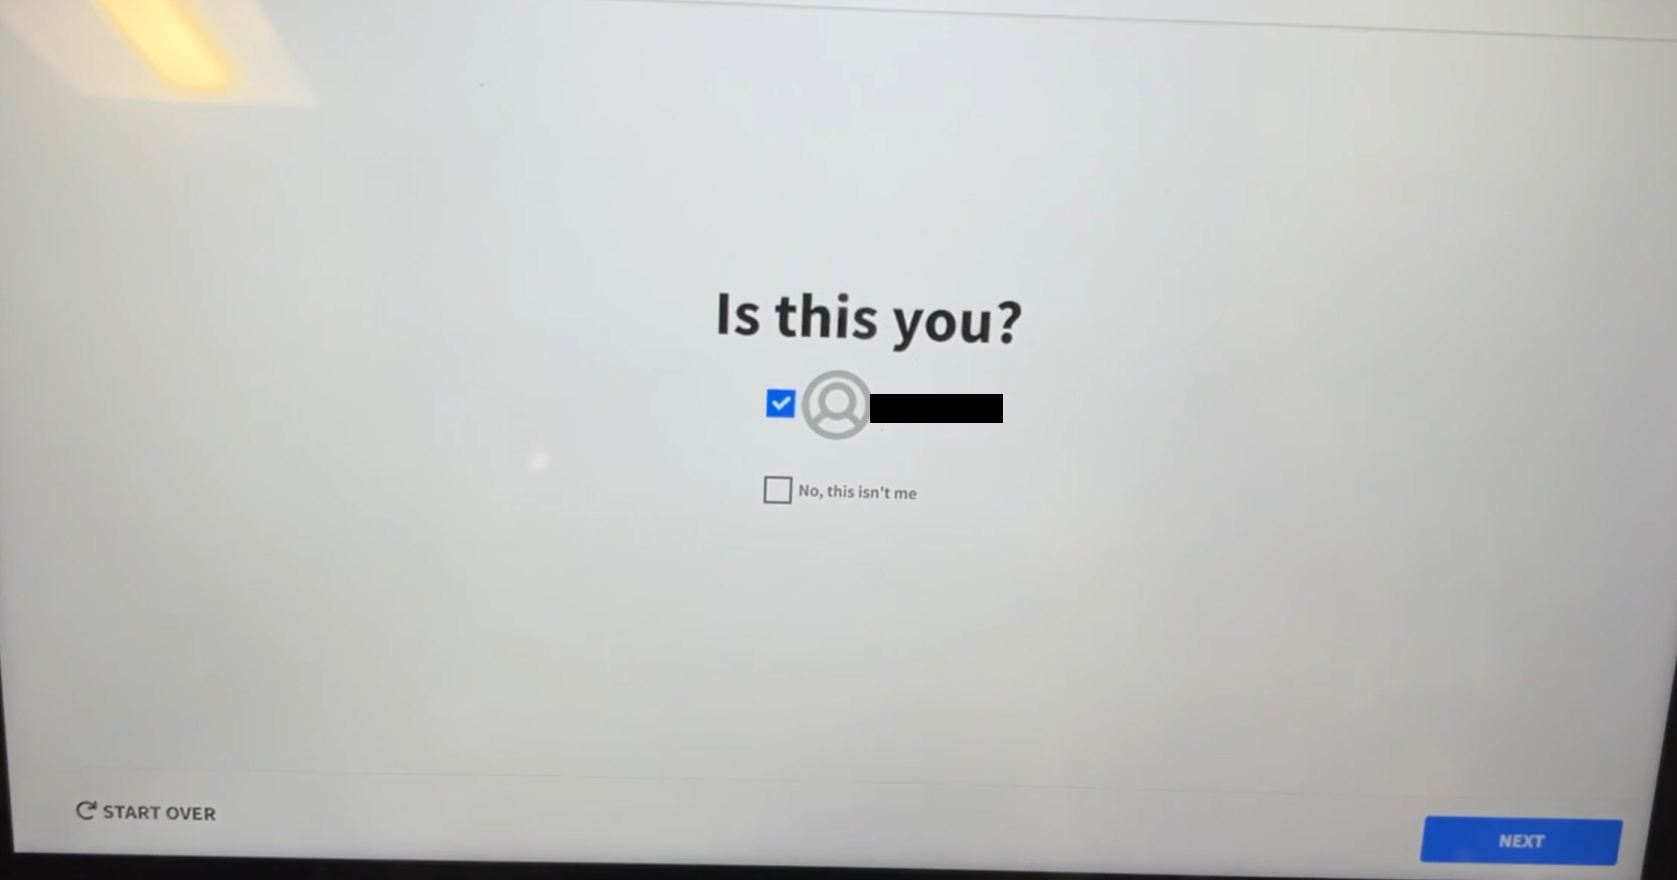
3. Confirm your identity when prompted "Is this you?". Then press "Next" in the bottom right-hand corner of the kiosk screen.
You will be greeted with the "Welcome" message confirming that you have successfully sign in.
Follow the same steps when exiting the building to sign out.